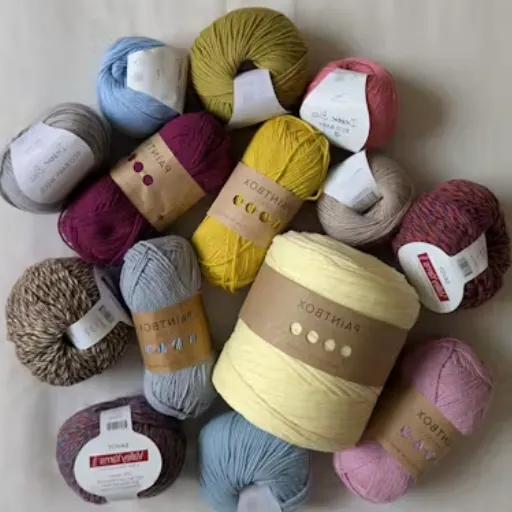
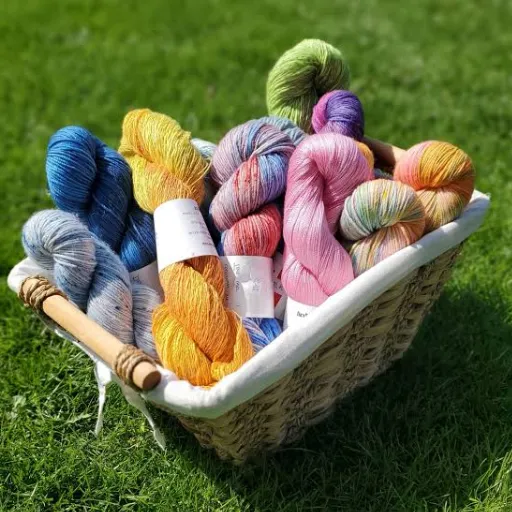


Crocheting is an incredibly rewarding craft that allows you to create beautiful, functional pieces with just a hook and some yarn. Among the essential techniques every crocheter needs to master is the double crochet stitch—a versatile and widely used stitch that lays the foundation for countless patterns and projects. This blog post is designed to guide beginners through the ins and outs of working the second row of double crochet, with detailed explanations, helpful tips, and step-by-step instructions. Whether you’re just starting or looking to refine your skills, this comprehensive guide will give you the confidence to tackle your next crochet project with ease and precision.
What are the essential steps for starting the second row in crochet?

In order to complete the second row in crochet, bear in mind these steps:
Change direction (turn your work)- At the end of the first row, flip the work around so that the opposite side is facing you.
Starting chain – Create the right amount of chains that aligns with the height of the entire stitches created (chain three for double crochet).
First stitch – Find the correct spot where the hook goes; this is usually the first or the second stitch after the hook, but it relies on the pattern.
Get stitching – With a consistent amount of tension, yarn over and complete your double crochet stitches for the rest of the row.
How do I turn my work after completing the first row?
Turning your work is an important part of crocheting neat and even rows. To turn your work after the first row, make sure to follow these pointers.
Create turning chains: Turning chains at the end of a row are essential. For single crochet, you will need to chain one. For half double crochet, chain two. And for double crochet, chain three. You will most likely use one of these chains in the next row, so it is best for them to be in the correct position.
Turn your project: Whatever angle you choose to turn your work at, make sure that the opposite done side of the project is the one facing you. The goal here is to prepare for the stitching of the right side of the fabric.
Look for the starting stitch: Depending on the stitch you are using, notice whether the very first stitch of the new row is at the bottom of the turning chain as this may be the first few stitches of the pattern’s instructions.
Understanding these rules guarantees a provider proficient at even shapely rounds of crochet as well as in perfect rows.
What is a turning chain and why is it important?
A turning chain is a foundational technique in crochet that consists of one or more chain stitches made at the beginning of a new row. Its primary purpose is to raise the working yarn to the appropriate height for the next row, ensuring that the stitches remain even and consistent. The number of chain stitches in the turning chain depends on the type of stitch being used—for example, a single crochet typically uses one chain, while a double crochet requires two or three. The turning chain is critical because it helps maintain the structure and symmetry of the project, preventing gaps or uneven edges. Skipping or miscounting the turning chain can lead to distortions in your work, so understanding its role is essential for clean, professional results.
How do I insert my hook to begin the second row?
Begin the second row by locating the first stitch of the row beneath, which is likely located beside the turning chain. As a general rule, place your hook under both loops of the stitch unless the pattern instructs you differently. This technique ensures your next row is properly secured and it is aligned accurately with the row beneath it. With both loops worked under, you accomplish a strong and uniform finish. Withdraw a loop through the stitch to form a braid and ready to finish the stitch for your subsequent row. Without a doubt, follow your pattern for precise instructions, as some patterns may require the hook to be placed in the front or back loop or another specified location.
How do I correctly work double crochet stitches in the second row?

To correctly work double crochet stitches in the second row, begin by chaining the required number of stitches for your turning chain (usually 3 for double crochet). Turn your work, then yarn over and insert your hook into the appropriate stitch—this is typically the top of the first stitch from the previous row, unless the pattern specifies otherwise. Pull up a loop, yarn over again, and pull through the first two loops on your hook. Yarn over once more and pull through the remaining two loops to complete the stitch. Repeat this process across the row, ensuring you maintain consistent tension and follow your pattern for any specific adjustments or stitch placements.
What’s the difference between UK and US double crochet terminology?
The key difference between UK and US crochet terminology lies in the naming of stitches. What is referred to as a “double crochet” (dc) in US terminology is called a “treble crochet” (tr) in UK terms. Similarly, the UK “double crochet” corresponds to the US “single crochet” (sc). This distinction stems from slight variations in how the stitch count is described after looping the yarn. To avoid confusion, always check the origin of the pattern and refer to any provided key or stitch legend to align with the correct terminology.
How many loops should I have on my hook when working double crochet?
In the case of double crochet, or as the US calls it, the term maintains three loops on the hook during the major steps of the stitch. First, before placing the hook into the stitch, do a yarn over once. After pulling up a loop, you will have three loops on your hook. Then, do a yarn over and pull back through the first two loops leaving two on the hook. Then do a yarn over again and pull through the two loops to complete the stitch. This method guarantees that a proper double crochet is executed.
What’s the step-by-step process for completing a double crochet stitch?
Start with a foundation row: Begin by creating a foundation chain or a row of single crochet, depending on your pattern instructions.
Yarn over (YO): Wrap the yarn around your hook once before inserting it into the designated stitch or chain.
Insert the hook: Push the hook into the stitch specified by your pattern, typically the third chain from the hook for the first stitch.
Pull up a loop: Grab the yarn with your hook and pull it through the stitch, giving you three loops on the hook.
Yarn over again: Wrap the yarn around your hook once more.
Pull through the first two loops: Draw the yarn through the first two loops on the hook, leaving two loops remaining.
Yarn over and finish: Wrap the yarn around the hook one final time and pull it through the last two loops on the hook to complete the double crochet stitch.
Repeat: Continue working through each stitch of your row as indicated by your pattern. When finishing the row, turn your work and begin the next with the appropriate chain stitches to maintain height.
This method ensures a neat and uniform double crochet stitch, essential for building everything from textured patterns to elegant designs.
What are common mistakes to avoid when crocheting the second row?

Skipping Stitches: Ensure you do not miss the first or last stitch in the row as this makes counting edges challenging. This will lead to an uneven shape—make sure to count your stitches carefully.
Misplacing the Turning Chain: Skipping or placing the first double crochet in a different stitch than the turning chain also throws off your pattern and row alignment.
Irregular Tension: Inconsistent or irregular tension can also make some rows appear aesthetically unpleasing. A crocheted project needs to have properly uniform stitches, otherwise rows might end up too tight or too loose.
Ignoring Pattern Guidelines: Not following the provided pattern instructions precisely for the second row can lead to gaps or inadvertently distort the design.
Incorrect Row Structure: Make sure your turning chains are the correct height for the type of stitch. If this is not maintained, it alters the row structure.
Avoiding these errors will help make the crochet piece polished and professional.
How do I ensure I’m not skipping stitches?
Ensuring you don’t skip stitches starts with careful attention to your work. First, always count your stitches at the end of each row to confirm they match the pattern’s required count. Using stitch markers is another effective method, as they can mark the first or last stitch of a row or even sections within the row, minimizing confusion. Additionally, follow your crochet pattern closely and double-check each step before advancing to the next. Proper lighting and a clear workspace can also help you see the stitches more accurately, reducing the chance of mistakes. Finally, take your time, and don’t rush—precision is key to avoiding skipped stitches.
What should I do if my row count doesn’t match the first row?
If your row count doesn’t match the first row, begin by recounting your stitches carefully to ensure no counting errors were made. Next, check to see if you’ve accidentally added or skipped stitches in previous rows, as this is a common cause of mismatched counts. Referring back to your pattern is crucial—verify that you are following the correct stitch instructions and repeats without deviation. If the mistake is minor, you may be able to fix it by adding or reducing stitches in the current row to balance the count, ensuring it aligns with the pattern. For larger discrepancies, it might be necessary to unravel rows back to the point of the error and redo them correctly.
How can I maintain consistent tension in my stitches?
Maintaining consistent tension in your stitches requires practice and attention to your technique. Begin by holding your yarn and hook in a way that feels natural but provides stable control, as tension is largely impacted by how the yarn flows through your fingers. Try to maintain an even grip without pulling too tightly or allowing the yarn to become too slack. Make sure to work in a comfortable, relaxed position, and consider using the same type of yarn and hook for practice to develop muscle memory. Additionally, periodically check your work to ensure the stitches are even and adjust your technique if necessary. Developing consistent tension takes time, so be patient and practice regularly.
How do I transition from the second row to subsequent rows in a crochet project?

To transition from the second row to subsequent rows in a crochet project, begin by turning your work at the end of the row. Next, create the appropriate number of turning chains as specified by your pattern—this typically corresponds to the height of the stitch you’ll be using (e.g., one chain for single crochet, two for half-double crochet, three for double crochet). Then, start your stitches in the correct position, which may be either in the same stitch as the turning chain or the next one, depending on the pattern instructions. Repeat this process for each new row to maintain consistency in your project.
When should I chain at the end of the second row?
Chaining at the end of the second row, or any row, depends on the type of stitch you are using and the instructions in your pattern. Typically, you will chain the number of stitches required to match the height of the stitch in the next row—one chain for single crochet, two for half-double crochet, three for double crochet, and so on. This turning chain acts as the first stitch of the new row. Ensure you follow your pattern closely, as it will specify whether the turning chain counts as a stitch or not, which can affect where you place your first actual stitch of the row.
How do I start the third row after completing the second?
To start the third row after completing the second, begin by creating the appropriate turning chain for the type of stitch you’ll be using. Then, turn your work so that the opposite side is facing you. Next, identify the correct placement for your first stitch, which depends on whether your turning chain counts as the first stitch—this information is usually provided in your pattern. Start crocheting the third row by working into the designated stitch, following the pattern’s instructions for stitch type and placement. Consistently maintaining proper tension and stitch alignment will ensure a uniform and professional finish.
What are some tips for perfecting your second row crochet technique?

Maintain Consistent Tension: Ensure your stitches are neither too tight nor too loose to achieve a smooth, even fabric.
Count Your Stitches: Regularly count your stitches to avoid accidental increases or decreases, which can alter the shape of your work.
Identify the Turning Chain: Determine whether your turning chain counts as a stitch, as this affects where you begin your first stitch in the row.
Work Under Both Loops: Insert your hook under both loops of the stitch below for a uniform texture unless the pattern specifies otherwise.
Double-Check the Pattern: Refer to your pattern frequently to ensure accuracy in stitch type and placement.
By following these tips, you’ll create a neat and precise second row, setting a strong foundation for the rest of your project.
How can I improve the appearance of my edge stitches?
Maintain Consistent Tension: Ensure your tension remains even throughout your project. Uneven tension can result in wavy or distorted edges, so take your time and adjust your grip as needed.
Use a Stitch Marker: Place a stitch marker at the beginning or end of each row to clearly identify where your edge stitches should be made. This helps maintain a straight and even edge.
Count Your Stitches: Regularly count your stitches at the end of each row to avoid accidental increases or decreases. Consistent stitch counts keep your edges uniform.
Work the Turning Chain Correctly: Ensure your turning chain aligns with your edge by either counting it as a stitch or not, based on the pattern’s instructions. This avoids gaps or unevenness.
Block Your Crochet Project: Blocking helps to shape and smooth out edges for a polished finish. Wet blocking or steam blocking can ensure your edges lie flat and appear professional.
By following these strategies, you can achieve cleaner, more defined edge stitches, enhancing the overall look of your project.
What’s the best way to count stitches as I work?
To count stitches effectively as you work, it’s best to start by counting them at the end of each row to verify accuracy before moving on. Keep track by using stitch markers every 10 or 20 stitches for larger pieces—they act as checkpoints to reduce recounting. Additionally, familiarize yourself with the look of each stitch type so you can easily identify them as you go. If you’re working in rounds, mark the first stitch of every round to maintain consistency. These habits ensure fewer mistakes and save time during your project.
How can I use stitch markers to help with my second row?
Stitch markers are particularly useful for helping with the second row of a project as they help keep one organized. Remember to mark stitches where a marker can be used in increments of 10 so as to not lose count and help with accuracy. Also utilize markers to help indicate important features as increases, decreases and other important aspects of a pattern that need to be repeated to make the first row easier to complete. Other basic steps are marking the first stitch or the edge of a row which helps when patterns are complicated or similar and makes everything flow better.
Where can I find resources to help me master second row crochet?

There are numerous resources available to help you master the second row of crochet. Online video tutorials, such as those on YouTube or craft-focused platforms like Skillshare, provide step-by-step demonstrations for various techniques. Websites and blogs dedicated to crochet often include detailed guides and tips, making them excellent references. Joining crochet communities on social media or forums can also offer personalized advice and support from experienced crafters. Additionally, books and eBooks on crochet can serve as comprehensive resources, combining visual aids with thorough instructions to enhance your skills.
What are some recommended video tutorials for second row crochet?
Here are three highly recommended video tutorials for mastering second-row crochet techniques:
“Learn to Crochet – Second Row Basics” by Sarah’s Crochet Corner (YouTube)
A beginner-friendly video that explains how to transition from the foundation row to the second row while maintaining stitch consistency. Sarah also provides tips for troubleshooting common mistakes.
“Crochet for Beginners – Understanding Rows” by Yarnspirations (yarnspirations.com)
This tutorial focuses on various second-row techniques for different types of stitches, including single crochet, double crochet, and turning chains. The step-by-step format ensures clarity for new crafters.
“The Second Row – Stitching Properly” by Bella Coco (YouTube)
Bella’s tutorial emphasizes the importance of maintaining tension and proper stitch placement as you move to the second row. Her clear visuals and instructions make it easy to follow along.
These tutorials provide a combination of visual demonstrations, practical tips, and in-depth guidance, making them ideal for learning how to crochet the second row effectively.
Are there any helpful crochet patterns for practicing second row techniques?
Yes, there are several crochet patterns perfect for practicing second row techniques. Beginner-friendly patterns like simple dishcloths, scarves, or granny squares are ideal as they allow you to focus on consistent stitching and tension. Patterns such as the “Classic Granny Square” or “Beginner’s Single Crochet Scarf” are widely recommended. These projects involve repetitive rows or rounds, making them excellent for mastering the transition from the foundation row to the second row while reinforcing your skills.
References
Frequently Asked Questions (FAQ)
Q: What materials do I need to start a second row in crochet stitches?
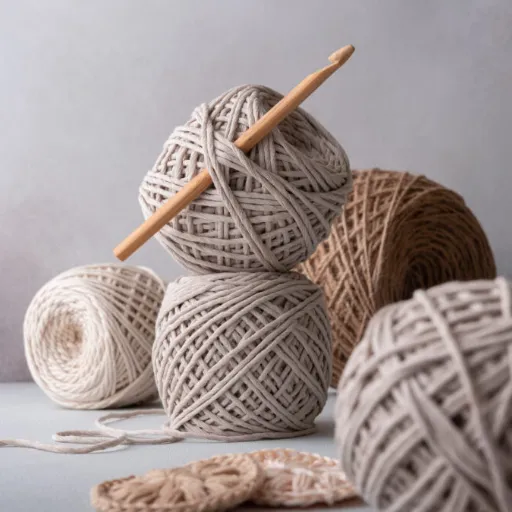
A: To begin a second row in crochet stitches, you’ll need yarn (such as cotton or acrylic), a crochet hook (commonly between 4mm and 5mm for most projects), and a basic understanding of the initial chain and slip stitch techniques.
Q: How do I begin the second row in crochet?
A: After completing your first row of stitches, turn your work. Chain 1 to substitute for the first stitch if you are doing single crochet. Then, insert your hook into the second chain from the hook and continue with your crochet stitch across the row.
Q: Are there any crochet tutorials available for beginners?
A: Yes, many crochet tutorials are available on platforms like the world on YouTube. These often include step-by-step video instructions and written instructions in the description that can guide you through the process.
Q: Can I use different types of yarn for my crochet projects?
A: Absolutely. You can use a variety of yarns such as cotton for a soft finish or acrylic for more durability. The weight yarn you choose can affect the look and feel of your project.
Q: How do I keep my crochet rows tidy?
A: To keep your crochet rows tidy, ensure that your tension is consistent throughout your work. Make sure each stitch is even, and count your stitches as you go to avoid accidental increases or decreases.
Q: Where can I find free crochet patterns?
A: Free crochet patterns can often be found online through crochet blogs, the description section of crochet tutorials, or crafting websites. Some creators may also offer free patterns in their email newsletters if you subscribe.
Q: How can I substitute a stitch in my crochet project?
A: To substitute a stitch, identify the stitch you want to replace and choose a similar one that has the same height and number of loops. Practice the new stitch on a small sample to see how it affects the overall appearance.
Q: What is the importance of a slip stitch in crochet?
A: A slip stitch is crucial for joining rounds, fastening off, and creating a neat edge. It’s also used when you need to move your yarn to a different part of your work without adding height.
Q: Can I crochet a blanket as a beginner?
A: Yes, a crochet blanket can be a great beginner project. Start with a simple pattern using basic crochet stitches. Consider using medium weight yarn for easier handling and visible stitch definition.
Q: How can I learn new crochet techniques?
A: You can learn new crochet techniques by watching crochet tutorials, reading books or pages of a book dedicated to crochet, joining online forums or communities, and practicing regularly. Engaging with others by leaving a comment or asking questions can also enhance your learning experience.