


This is a beginner-friendly tutorial and by the end of reading this guide, we follow through with understanding the process of making granny square slippers that are warm and delightful for one’s feet or can also be presented as a handmade gift. We will put things in order, beginning with the very basics which are the categories of yarn and hooks and advances in making the slippers, to the making of the granny squares upwards to the slippers, which again, will be made around the squares. At the closure of the guide, there will be perfect homemade slippers with lots of pride as a byproduct of crocheting craft. If you are a beginner or an intermediate in the crocheting craft, this is an easy and enjoyable project.
What Are Granny Square Slippers?

Granny square slippers may be made from crocheting granny squares which are a classic crochet pattern. A few crocheted squares are made and sewn together to make a warm and comfy slipper. Usually, the squares are made of colored yarns, so a variety of designs can be created. Granny square slippers are an ideal solution to heat the feet while learning basic crochet techniques in a stylish and appealing way. Because of their low difficulty as well as many possibilities for personalization, these projects have become favorite ones among crochet fans.
Understanding the Granny Style
In the world of crochet, the phrase ‘Granny Style’ has a different meaning and it is relevant of the very crochet pattern which is used for making some things or the other like socks, slippers, and blankets. In my opinion, this is the best approach since it is very basic and versatile. I remember when I began crocheting the very granny squares, the rows that are made up of the almost same stitches in the circle seemed to be child’s play for quite a few people. What makes it even more special is the scope for creativity when it comes to colors and types of yarn and hence no two projects need to be identical. In addition, its existence in the market for more than a century is indicative of its classicism which is both managing to connect with the old traditions of art while also allowing the new way of doing things within the art of crochet.’
History of Granny Squares
Granny squares have got a history spanning over a century and the story of their origin is quite interesting. While I was researching, I came across the fact that granny squares gained recognition in the late 1800s to early 1900s when women looked for convenient solutions for their yarn leftovers. Such a sensible and pragmatic attitude brought about new possibilities of color and pattern combinations. Not only a cost-effective alternative, granny squares also emerged as a means of art, enabling creators to produce eye-catching images with limited materials. As I continued studying them, I found out that granny squares magnetically evolved into a seemingly limited technique to an irreplaceable go to in the crochet universe.
Why Choose Granny Square Slippers?
When selecting granny square slippers, I do so with an emphasis on relaxation and aesthetics. They have casual appeal as well as utility, and they’re simple to make and personalize. Because of the crocheted slippers’ breathability features, my feet remain warm all the time though not overheated which is great comfort for every season. Furthermore, granny squares are modular and this characteristic makes it possible to alter the dimensions of the slippers to fit my feet and specific combinations of color and pattern to the design.
How to Crochet Granny Square Slippers?

To crochet granny square slippers, the materials required are medium-weight yarn in the chosen colors, a crochet hook size 4.5, scissors, and a yarn needle. First, let us look at how to create a granny square; this will form the main portion of the slipper. It begins with a magic ring, directions for which are to chain three and two double crochets into the ring. Then chain three make three double crochets into this ring and repeat this two more times. At the top of the initial chain three, close the round with a slip stitch. To prepare for the second round, first slip stitch to the corner space, then chain three, and into that space work two double crochets, chain three and three double crochets working in that same space to create a corner and continue working around by putting double crochets into each corner space. Continue to add rounds until character ‘9’ is reached for one square. Proceed to make a few more of these squares to appropriately fit the top and the sides of the foot. Then, use your yarn needle to sew them together and shape them into slippers by embroidering the edges. Finally, undo the loose ends slip into the one-of-a-kind granny square slippers and feel the warmth.
Materials Needed for Easy Crochet
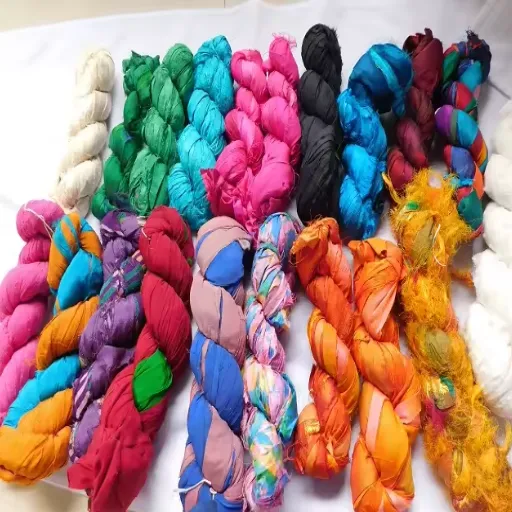
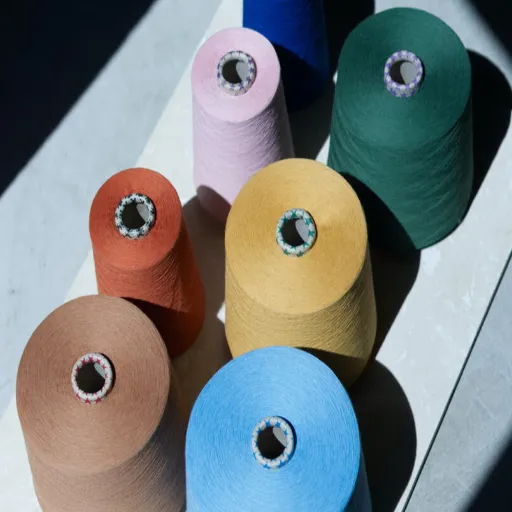
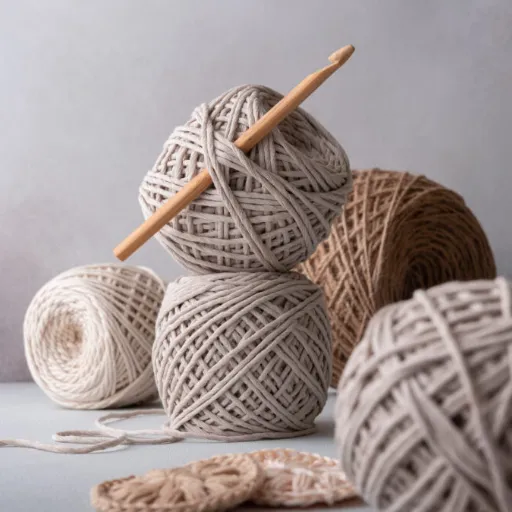
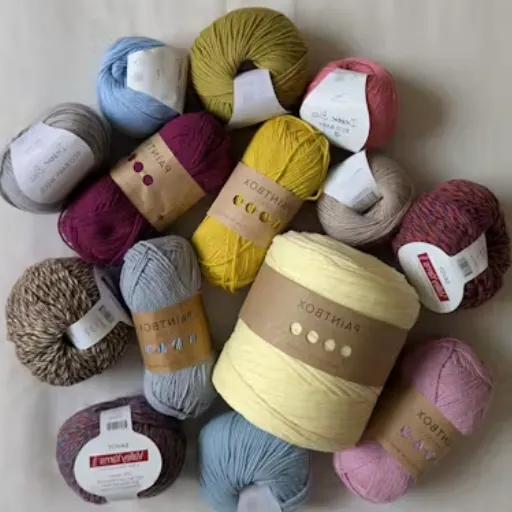
First, let me start by outlining the basic tools, the most important of which include a set of crochet hooks of varying sizes (2mm to 16mm), a medium-weight yarn or any type that one is comfortable working with, sharp pair of scissors, a yarn needle, a stitch marker, and a crochet pattern/guidebook. Medium-weight yarn is best recommended for beginners as it is the most versatile and easy to handle. A stitch marker is useful if one wants to keep track of rounds or stitches made and lastly, a crochet pattern and/or yarn guide will assist me in learning new techniques and projects by providing detailed, easy-to-follow step-by-step instructions.
Step-by-Step Tutorial
I will try to provide a step-by-step guide in very simple language as to how we can make a simple beginner crochet project, in this case, a 15 inches long scarf:
- Choose Your Pattern: First and foremost you must pick a pattern that is easy and beginner-friendly, Scarf or granny squares are good for that as these are the top elementary stitches.
- Gather Materials: As stated, I will require the proper size of crochet hook and yarn which is standard for every pattern that I decide, and I will also need scissors, yarn needle, and stitch markers.
- Start with a Slip Knot: To begin the foundation chain, a slip knot should first be created on the hook. This is a first stitch for most projects and most basics.
- Create a Foundation Chain: Carry out the chain stitches as indicated by the design. This chain will be the lowermost row from where you will be constructing.
- Learn Basic Stitches: This will involve understanding some essential stitches such as single crochet, double crochet, and half double crochet. Probably, each stitch gives a different kind of texture, and depth to the project.
- Follow Instructions: Follow the given pattern meticulously either row by row or round by round using stitches and gap markers to follow your yarns in case it gets confusing.
- Check Gauge: Owing to the significance of achieving the specified size requirements, work should be measured as periodically as necessary. This helps to avoid further corrections when the final size is about to be set.
- Finish and Secure: When the last piece is done, simply cut the yarn and pull the tail through the last stitch For a clean finish, use a yarn needle to tuck in any loose ends.
I believe that through regular exercises of these movements and checking of the relevant materials, I am able to improve my abilities aimed at targeting several crochet projects.
Common Stitch Techniques
Definitely! On looking into some of the commonly performed stitches, it is evident that knowing these fundamentals can definitely assist in taking my crochet work to another level. Noticeably, three stitches can be categorized as follows:
Single Crochet (sc): This is one of the easiest stitches. What I do then is take a stitch and I insert my hook and yarn over, pulling up a loop. Then I yarn over once more and draw through both loops on the hook. It produces a thick fabric that lends itself well to amigurumi work.
Double crochet (DC): For this stitch, I yarn the hook before inserting it into the stitch. I further yarn over then pull through that stitch, yarn over, pull the first two loops for the next two pulls, and finally yarn over and pull the rest. This technique produces a taller fabric with a more open weave; perfect for light shawls or blankets.
Half-Double crochet (dc): This stitch finds itself being in height encumbered by crochet both of the single and double stitches. After yarning over, I insert this hook into the stitch, yarning over again to pull up the loop. I pull one last time through all three of the loops around the hook. This provides a balanced texture which works well for all sorts of projects.
These anchor stitches along with practice and tension control provide the basis for infinite crochet patterns as well as guarantee the precision and the quality of my works.
How to Adjust Size and Sole for Perfect Fit?

When crocheting shoes, proper measurement, and stretch are crucial to the process. Begin by taking the measurement of the length and width of the foot with awareness of the two feet. Apply this to alter the pattern: lengthwise, increase or decrease the number of stitches in your foundation chain; widthwise, change the number of rows or stitches used. In the case of the sole, more resistive strength and comfort are obtainable from the use of thicker yarn or tighter stitches. Besides, a fitting of the partially completed work can assist in adjusting the fit more closely while crocheting. These steps will permit a custom size and neat finish.
Measuring for Granny Square Slippers
When measuring for granny square slippers, I start by employing my foot’s length as well as width since the purpose of the slippers is to fit perfectly. For length, the measurement is taken from the heel to the longest toe, while the widest part of the foot is taken for width. This helps me estimate crochet quantities for granny squares plus their dimensions. For instance, should my foot be on the less cha look would be a few squares, but should it be bigger, more squares are needed. Besides, I try to tension all the squares uniformly for tension variations may distort the fit. This however does not take too away the process as the squares are sewn together as they are fitted and therefore, the slipper can be worn at times for adjustments for comfort and appearance. I fitted a practical slipper to my foot which was adjusted with those touches.
Customizing the Sole Design
In the course of making the soles of my granny square slippers, the first step involves knowing which yarn and stitch pattern could complement both the function and comfort of my slippers. Usually, a thicker yarn is picked to create the sole of the slipper for the purposes of warmth and snugness. Some slip stitches or a few short rows may also be used for the slippers to hug the foot on one side and smoothen out around the foot on the other side. With so many of these small facets, the functionality of the slippers is enhanced as well as my personal touch as a designer.
Troubleshooting Size Issues
If my granny square slippers do not fit as expected I use a couple of methods to correct the size. As said, for cases when the slippers are too snug, I think either reducing the tension of my crochet work or adding a few more squares are the best options. On the other hand, if they tend to be baggy, I can avoid concentrating too many stitches to seams or make them tighter with a stitch pattern. Another good way is to use buttons as closures or drawstrings. Re-measuring with the help of credible sources on the web is a good idea and participating in discussion boards or watching video tutorials can give some new ideas and methods of how to resize a piece of garment. These techniques allow me to get the desired dimensions of my crochet slippers and therefore the desired level of comfort.
What Are Some Creative Granny Square Designs?

There are a lot of considerations that can be made when creating the granny square including the patterns that are used to adorn the slippers. One of these designs that add such color is the sunburst granny square which has a lot of colors and brings out a round shape in the middle. The crochet floral design is also one of the common designs, this one has some curls of covers which have a round shape. Another design that would let out more patterns is the mosaic granny square which emulates intricate tapestry patterns. Also from the name itself, the heart granny square has a lovely style that can be used for gift purposes. Simple crocheting of these patterns will allow a vast assortment of granny squares to be collected with only one goal, to enhance crochet items.
Using Ribbon and Buttons for Decoration
In my quest to improve the crochet slippers, adding buttons and ribbons seems to provide a unique level of customization and aesthetics. The addition of satin or grosgrain ribbons threaded through the top edges would give the slippers a decorative yet adjustable feel. Otherwise, buttons bring a different level of rustic cuteness. Placing them in the right position makes it easy to attach them as flaps or straps for decorative purposes and practicality. These small crafts do not just resize the slippers but create additional aesthetic features and provide a better fit to the slippers.
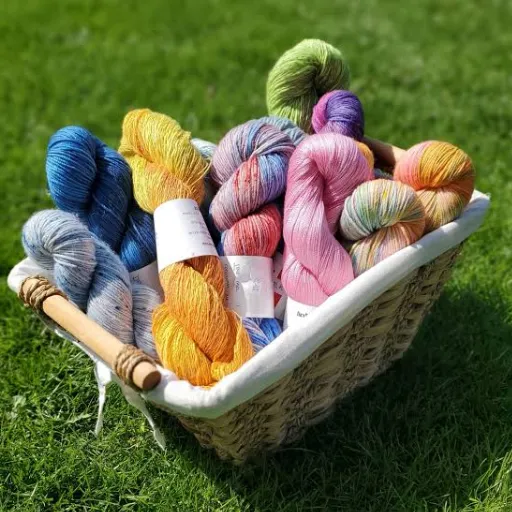
Color Combinations for Unique Shoes
Accessory colour combinations for crochet slippers challenge my imagination but I urge myself to stay coherent and use either contrasting or complementary colors. Based on the best sources I found, earthy colors like olive green and burnt orange go together and evoke a warm natural appeal. Conversely, pastels like pale pink and pale blue give a soft and calm feel to the viewer’s eyes. Experts too advise on using strong contrasts like navy blue and bright yellow for a more current look. Fusing these color theories assists me in creating slippers that are one-of-a-kind and fashionable at the same time.
Advanced Granny Techniques
One interesting technique is the ‘join as you go,’ which eliminates the burden of all the squares needed to assemble since all the squares are joined as the last round of each square is completed. It makes the project faster and prevents the finishing from being unappealing. One more advanced technique involves folding lawn workers into the granny squares, folded based on the figures scooping popcorn or puffs for a round. For these techniques to be effective, the tension must be uniform and the hook size appropriate. Commonly used are 4.0mm and 5.0mm crochet hooks with medium-weight yarn. These advanced techniques, though they are considerably more difficult, increase the general look and charm of my crochet slippers.
References
-
HOW to CROCHET GRANNY SQUARE SLIPPERS – DIY – A YouTube tutorial by Donna Wolfe from Naztazia.
-
Free granny square slippers crochet pattern – A pattern by Fran Morgan on Gathered.
-
Crochet Granny Slippers Pattern + Tutorial – A step-by-step tutorial on The Crochet Crowd.
Frequently Asked Questions (FAQ)
Q: What materials do I need to start making easy crochet granny square slippers?
A: To make easy crochet granny square slippers, you’ll need wool or yarn, a crochet hook suitable for your yarn, a tapestry needle for weaving in ends, and scissors. You may also want to have a copy of the slipper tutorial pattern.
Q: How many squares are required to make a pair of easy crochet granny square slippers?
A: Typically, you will need 6 granny squares to make a pair of easy crochet granny square slippers. These squares are stitched together to form the slipper shape.
Q: Can I find a free crochet pattern for granny square slippers online?
A: Yes, there are many free crochet patterns available online for granny square slippers. various crochet blogs often share free patterns and tutorials to help you get started.
Q: Is there a difference between crochet and knitting when making slippers?
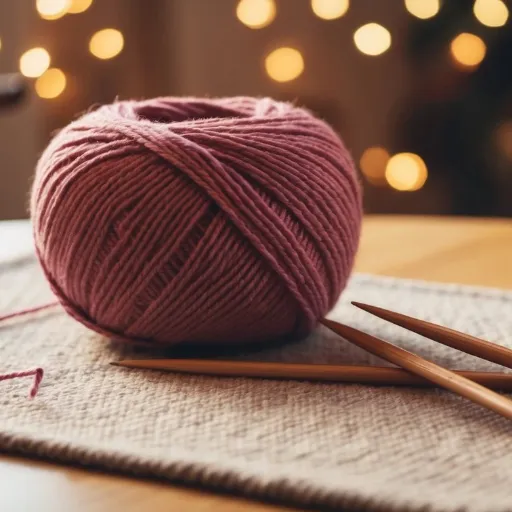
A: Yes, crochet and knitting are two different techniques. For granny square slippers, you’ll be using crochet stitches. While knitting involves two needles and forming loops, crochet uses a hook to interlock yarn into the desired pattern.
Q: How can I keep updated with new granny square slipper patterns?
A: To stay updated with the latest granny square slipper patterns, please click on the red subscribe button to get notified of brand new patterns from your favorite crochet channels or blogs. Subscribing ensures you don’t miss out on new and innovative designs.