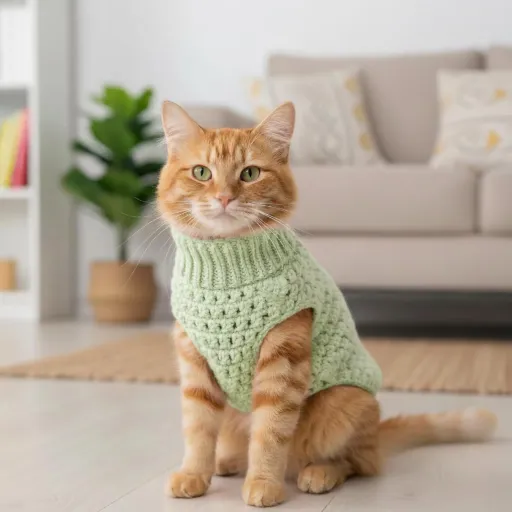


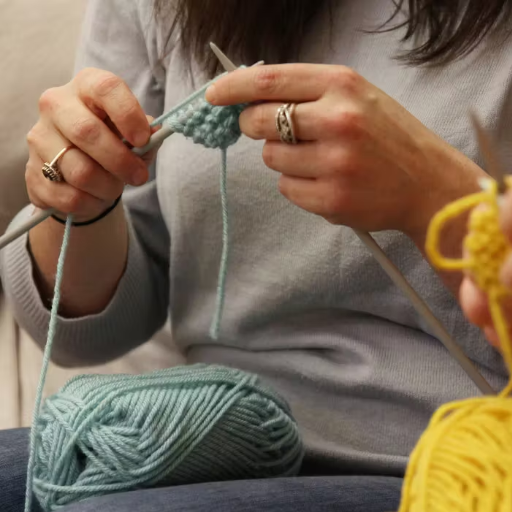
Blocking is a very important step in the fitting of a crochet project into a polished finish, especially when acrylic yarn is involved. Acrylic is so favored for its cheapness, ruggedness, and bright colors that its synthetic nature presents some challenges for shaping and finishing. This comprehensive guide will take you through all the blocking techniques and methods suitable for acrylic yarn, helping you transform your crocheting projects into excellently shaped and perfectly finished pieces of art.
Understanding Blocking Acrylic Yarn
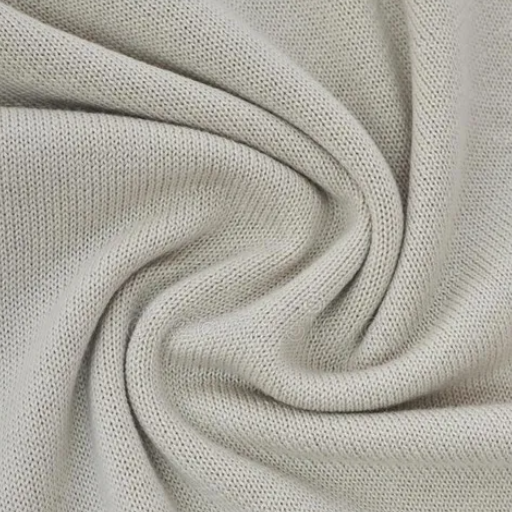
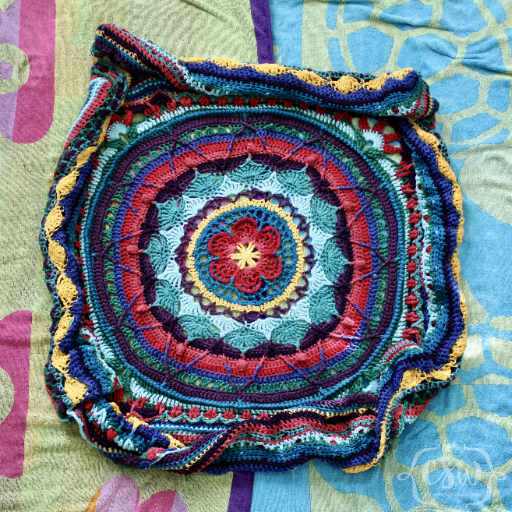
Blocking is essentially the means of setting, shaping, and marking the designed measurement attached to crochet or knit finishes. In the case of acrylic yarn, blocking is required to bring out stitch definitions and give a refined look, while removing abnormalities such as curling along the edges or asymmetric edges.
What Does It Mean to Block Acrylic Yarn?
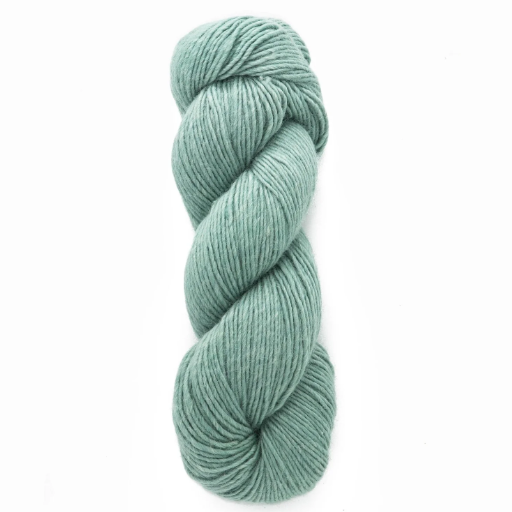
Blocking acrylic yarn involves shaping and setting your finished piece to its specific dimensions while giving it a clean and polished look. Since acrylic yarn consists of synthetic fibers, it behaves quite differently compared to natural fibers like wool when using common wet blocking methods.
For acrylic yarns, steam blocking should be applied. Controlled heat and steam are used to relax the fibers and gently adjust the fabric’s shape. The acrylic strands, once tempered by heat and steam, cool and harden to form a new arrangement that practically locks the shape in place.
Importance of Blocking for Crochet Projects
Blocking is the go-to procedure for giving any crochet work that professional touch, allowing for exact shaping and ensuring the final piece measures up to its designed dimensions. This process is essential for:
- Accenting intricate stitch patterns
- Aligning edges properly
- Preparing lacework for assembly
- Ensuring garment pieces fit together correctly
How Blocking Enhances Finished Items
Blocking essentially upgrades the presentation and functionality of finished textile pieces by providing excellent shape, guaranteed dimensional accuracy, and improved drape. The process sets the fibers in their desired place, allowing for minor inconsistencies to be corrected, such as uneven stitching or tension variations.
Benefits of Blocking Acrylic Yarn
Key Benefits Include:
- Enhanced Shape Retention: Allows the finished piece to maintain its intended shape, avoiding distortions over time
- Improved Stitch Definition: Creates a slight separation of fibers, making complex stitches more distinct and attractive
- Consistent Dimensions: Matches actual project dimensions to pattern specifications for exact fit
- Refined Overall Appearance: Smooths uneven edges, reduces curling, and delivers a clean, professional finish
Improving Shape and Drape
To obtain good shape and drape for your acrylic yarn project, you need to apply consistent techniques and pay close attention to details. For acrylic yarn, steam blocking is very effective because it softens these synthetic fibers temporarily, making them more malleable.
Using a steam iron, move it gently over the fabric or hold it just above without applying pressure that would affect the fabric’s integrity. Pinning the piece to a blocking mat according to its exact dimensions ensures the fabric holds the desired structure while drying.
Methods of Blocking Acrylic Yarn

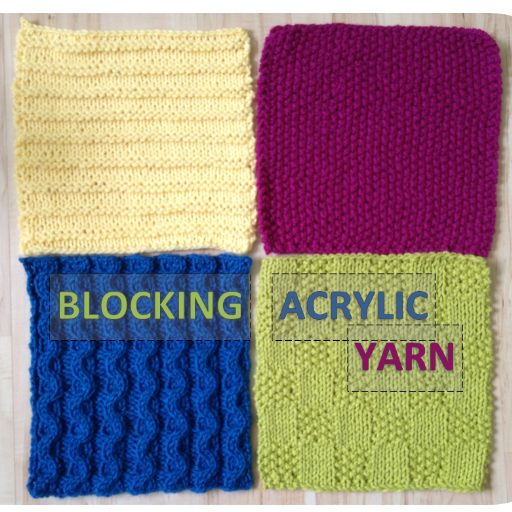
Blocking acrylic yarns is accomplished through a “killing” or steaming process, as traditional wet blocking does not perform well on synthetic fibers. Here’s how to do it:
- Prepare the Yarn or Project: Lay the piece flat on a heat-safe surface. Use blocking mats and pins to shape the item to the desired dimensions.
- Apply Steam: Keep the steam iron or steamer about one or two inches above the yarn. Never let steam directly touch the fibers.
- Set the Shape: Let the steam affect the acrylic fibers just long enough to soften and set them in place. Don’t touch the object until it cools and dries completely.
Comparison of Common Blocking Methods for Acrylic Yarn
| Method | Tools Required | Time Needed | Best For | Pros | Cons |
|---|---|---|---|---|---|
| Steam Blocking | Steamer, heat-resistant surface | 10–15 minutes | Flattening and shaping edges | Quick, effective, professional look | Risk of overheating fibers |
| Wet Blocking | Water, pins, blocking mat | Several hours | Achieving precise dimensions | Gentle on fibers, even tension | Time-consuming |
| Spray Blocking | Spray bottle, pins, blocking mat | 1–2 hours | Light shaping, delicate items | Minimal effort, low risk of damage | Less effective for dense items |
| Heat Pressing | Iron (low heat), protective cloth | 10 minutes | Shape maintenance for flat pieces | Fast, clear results | Requires caution to avoid scorching |
| No Blocking | None | None | Stretchy or durable projects | No tools needed, natural finish | Uneven shape retention, less refined |
Wet Blocking: A Step-by-Step Guide
Step 1: Prepare the Necessary Materials
Gather all blocking equipment, including a clean basin, mild detergent (optional), blocking mats, rust-proof pins, and a towel.
Step 2: Wash or Soak the Item
Fill a basin with lukewarm water and submerge the project entirely. Let the item soak for about 20 to 30 minutes so the fibers can become fully saturated.
Step 3: Remove Excess Water
Lift gently from soaking without squeezing or stretching. Place the object flat on a clean towel and roll the towel, pressing firmly to absorb water. Never wring the fabric.
Step 4: Position the Fabric on Blocking Mats
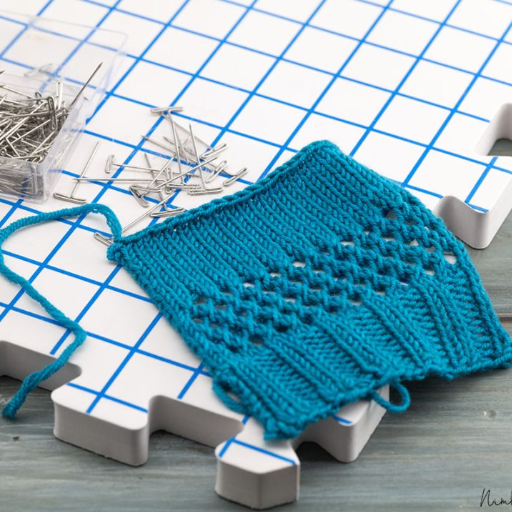
Spread the damp project onto a blocking mat. Carefully shape it according to proper dimensions using a measuring tape or blocking template.
Step 5: Pin for Stability
Pin down the fabric using rust-proof pins at evenly spaced intervals. For straight edges, blocking wires may be used for a more consistent finish.
Step 6: Allow to Dry Fully
Leave the item to air dry in a well-ventilated environment. Drying duration may range between 24 and 48 hours, depending on size and density.
Step 7: Inspect and Unpin the Item
Once dry, carefully remove pins and inspect the results to ensure the finished product holds its intended shape and dimensions.
Essential Tools for Blocking Acrylic Yarn
- Blocking Mats: Provide a flat, cushioned surface for pinning your project. Interlocking mats accommodate projects of various dimensions.
- T-Pins or Rustproof Pins: Hold yarn securely in place during blocking. Must be rustproof to avoid staining.
- Steamer or Steam Iron: Apply heat for setting fibers. A steamer provides even heat distribution.
- Measuring Tape or Ruler: Check the accuracy of blocking measurements.
- Towel or Cloth: Protect the yarn from direct contact with the steam iron.
Blocking Mats and Their Importance
Blocking mats are essential for achieving precise, professional finishes on knitted and crocheted pieces. These mats offer a solid, flat working surface that ensures projects maintain consistent dimensions during blocking. Made of durable, heat-resistant foam, blocking mats often feature gridlines for precise measurements and symmetrical alignment.
Choosing the Right Steamer and Iron
When selecting a steamer or iron for blocking, consider:
- Material compatibility with your fiber types
- Adjustable heat settings for different yarn weights
- Steam output capacity for consistent performance
- Safety features like automatic shut-off
- Soleplate material (ceramic or stainless steel for even heat distribution)
Tips for Achieving the Best Result
Professional Tips:
- Select the Right Equipment: Use appropriate heat settings for your fabric type
- Prepare the Fabric Properly: Ensure fabric is free of major creases before steaming
- Work Methodically: Keep the steamer moving to avoid burning or damaging fabric
- Use Clean Water: Use distilled or filtered water in steamers to prevent mineral deposits
- Test First: Always test on a small, hidden area before proceeding with the entire piece
Preparing Your Acrylic Yarn Properly
Thorough preparation is crucial when working with acrylic yarns. First, determine the specific type of acrylic yarn you’re using, as different weights and blends may have varying thermal and structural properties. Inspect the yarn for any knots, fraying, or uneven thickness that might compromise your design.
For storage, choose methods that prevent tangling or stretching. Keep acrylic yarn in a cool, dry place away from direct sunlight or excessive humidity that may cause fiber deterioration.
Handling Projects with Care During Blocking
The choice of blocking method is crucial depending on your project’s fiber composition. Natural fibers like wool or cotton benefit from wet blocking, while synthetics like acrylic require more precision through steam blocking. Improper treatment may deform, weaken, or even permanently damage synthetic fibers.
Reference Sources
-
Recent Advancements in Acrylic Fabric Applications: A Comprehensive Review and Future Trends
- Key Findings: This study discusses the integration of carbon black (CB) into acrylic yarns to enhance UV-blocking properties. It highlights the methodology of impregnating CB into the fibrous structure and its impact on the yarn’s performance.
-
Apparel Manufacturing Supply Chain from Manufacturer to Consumer
- Key Findings: This chapter provides insights into the classification of yarns, including spun and filament yarns, and their applications in apparel manufacturing. While not specific to blocking acrylic yarn, it offers foundational knowledge on yarn types and their properties.
-
- Key Findings: This resource explores the growth and applications of technical textiles, including their use in various industries. It provides a broader context for the role of textiles like acrylic yarn in technical applications.
Frequently Asked Questions (FAQs)
Q: Can I use a steam iron to block my crochet projects?
A: Yes, but do so carefully. Set the steam iron to a low setting and hover it above your work without touching the yarn directly. This prevents “killing” the acrylic and ruining your project. After steaming, lay your work flat and allow it to dry completely.
Q: How long do I need to leave my acrylic items to dry after blocking?
A: Generally, allow at least 24 hours for drying. Leave the blocked item undisturbed in a well-ventilated area. You can speed up the process using a dryer on low heat, but be cautious not to overheat. Always check yarn labels for specific care instructions.
Q: What happens if I don’t block my acrylic projects?
A: Without blocking, you may end up with items that lack proper shape and structure. Projects may curl at edges, not fit together correctly when seamed, or appear unprofessional. Blocking helps fibers relax and improves overall appearance significantly.
Q: How can I block my crochet project without damaging it?
A: Use gentle methods like wet blocking or spray blocking. For steam methods, hover the steamer above the surface avoiding direct contact. Use T-pins to secure your project while drying, and always check yarn labels for specific blocking recommendations.
Conclusion
Mastering the art of blocking acrylic yarn is essential for any crafter who wants to achieve professional-looking results. Whether you choose steam blocking for quick results or wet blocking for precise dimensions, the key is understanding your yarn’s properties and using the appropriate technique. With the right tools, careful preparation, and attention to detail, you can transform your acrylic yarn projects into polished, professional-quality pieces that showcase your skills and creativity.
Remember that blocking is not just a finishing technique—it’s an investment in the quality and longevity of your handmade items. Take the time to block your projects properly, and you’ll be rewarded with beautifully shaped, dimensionally accurate pieces that maintain their appearance over time.